Showing posts with label cooking. Show all posts

Saturday, April 26, 2014

Green Influence

Since I've been living in Albuquerque, I've been introduced to the infamous green hatch chile. 


The majority of the time, I avoid eating anything with these boogers because sometimes..they can get VERY spicy. If you know me, you know that I can't handle extremely hot stuff because of my stomach issues. Once in a while, I'll attempt a small piece of it and usually end up paying the price. Well, when I picked up my Bountiful Baskets order last weekend, there was a boat load of green hatch chiles I had to address. Luckily, Kevin (our house mate) is a New Mexican and took the time to show me how to prep them considering I don't know what the hell to do with them, lol. Since we don't have a BBQ, I ended up roasting them in the oven by using the broiler. At first, he scoffed at the notion since using the oven "wouldn't work" since he swears you HAVE to use a grill...once he saw how well the broiler worked, he kinda shut his mouth. Here's how the chile's are supposed to look:


Once they were charred, you peel the skin off, take out the seeds and then freeze the chiles if you're wanting to stock up on them. I ended up freezing mine since I figured it'd be a bit till I used them. Well, I ended up packing them in my suit case 48 hours later and brought them to California due to an ER with my Dad. They joined me on the trip because when I asked him if he wanted anything from ABQ, he responded that he wanted some green chile's. Done and done. 

So, now that he's out of the hospital and back to his Dad-ly ways, I decided to make a green chile & chicken casserole for him. Although, I gave him the heads up since it was basically an experiment recipe due to the fact I've never cooked with hatch chiles. 

(Sorry for the poor quality picture. I didn't bring my Rebel with me since I rushed to California)

I'm a bit of a stickler when it comes to using chicken. I know I could buy a roasted chicken all ready cooked and everything, but I prefer to bake my own chicken. Well, you'll need to bake a whole chicken in the oven for the allotted time it takes to achieve a cooked product (I don't season it or anything). Then once it's cooled down enough, I strip all the meat and put it in a large mixing bowl, add a can of green chile sauce to it (I use Herdez), mix it in really well and then let it sit overnight so it soaks into the chicken. 

Preheat the oven to 375* 
Chile soaked chicken
Corn tortilla's
Cooked hatch chile's (rough chopped)
Shredded cheese (a large bag is a safe bet depending on how cheesy you want the casserole)

Take your casserole dish and put a small amount of green chile sauce from the chicken to coat the bottom; this will help the corn tortillas from sticking to the surface. Now, you're going to layer everything like you would with lasagna. Corn tortilla's first, followed by chicken, chopped green chiles, cheese...rinse & repeat till you run out of room in your casserole dish. Pop it into the oven for 45 minutes then once it's cooked that entire time, set the oven to broil and allow the top to get crispy for about five minutes. When you pull it out of the oven, let it sit for a good five to ten minutes so it "sets", otherwise you'll have a super hot sloppy mess on your hands. 

This is a SUPER super easy recipe. The only daunting parts are when you prep the chile's (longest part) and taking the time to roast your own chicken. 

Bon appetite! 

Tuesday, August 7, 2012

DIY Sushi Time!

I've heard from friends that you can pick up a cool sushi kit at one of the local stores if you're really wanting sushi without having to travel forty five minutes to an hour and a half to get your fix. Of course, I was talking to Eric about it and we agreed that it'd be fun to test this out at our house since we're total sushi addicts. 

I popped over to the store and picked up a Saitaku sushi kit. At first, I thought I got so insanely good at reading Dutch that I could CLEARLY read the instructions...and to my shock, they were all in English! ENGLISH!!!  


ENGLISH!!! AHHHHHHH!!! As Eric would say it... "ENGRISH"


Here's what comes in the kit:
Sushi rice
Sushi vinegar
Soy sauce
Sushi nori
Ginger
Wasabi paste
Rolling mat
Chop sticks
VERY easy instruction leaflet that has pictures that tells you how to roll up the rice / nori. 


Since Eric and I are huge fans of shrimp tempura, we opted to make some for the rolls:


Once the shrimp was all fried up, the carrots & avocado's were sliced, rice was finished, and we made our samurai sauce, we started working on rolling everything together. Not bad, right?


To my relief, they came out SO...SO good! We basically made spicy shrimp tempura rolls for our first attempt of ever making sushi at home! It was a lot of fun and it was extremely entertaining to watch Eric and myself cook something that's totally out of our comfort zone. I have no problems making Mexican, German, and even Greek food..but Japanese, even something as simple as sushi, it totally out in left field for me. 

SO, if we can do it, you can too! 


Monday, January 30, 2012

Corn Mac

Whenever I bring my Corn Mac to a party, I get tons of compliments, people asking for the recipe, or people offering to pay me to make it for them since it doesn't come out the same way if they make it themselves. Not bad, right? I actually wrote out the recipe in a "Note" on my Facebook account, but I still get asked about it being posted on here since some people like visual instruction verses just words, so, here we go:

This a REGULAR serving size recipe, which can feel 4-6 people. The amount that's pictured below is for a large party I'm cooking for in addition to personal orders people make when they find out I'm cooking this recipe. So, don't freak out when you see the amount of butter and Velveeta is used :)


Preheat 350
Grease a 9x13 pan/dish


2 Cups - Macaroni "elbow" pasta
1 Cup - Butter (unsalted, or 1 stick salted and 1 unsalted..I prefer using "Challenge Butter")
1 - 16 oz. Block Velveeta - cubed (sometimes I add more since we like things super cheesy!)
1 - can Creamed Corn
2 - cans of "Fiesta" Corn - Drained
2-3 T. - Onion Powder
2-3 Tablespoons of Tastefully Simples "Onion Onion" (yes, really. Add more as you're making your sauce if you like)
* You can also use fresh onion; do about 1/4 cup give or take. Make sure it is finely chopped if you do!
Ground black pepper (optional)


Boil macaroni till tender. While you're waiting for that to finish, you can mix together the creamed corn & Fiesta corn together. 


I tend to prep other things while I'm waiting on pasta to finish cooking, so I measured out my onion powder as well as Onion Onion. Now that's ready to go when the time comes:


Once the macaroni is ready, drain and put in a large mixing bowl.


2. Add the creamed corn and the drained cans of corn to macaroni. Stir to evenly combine. Set aside.


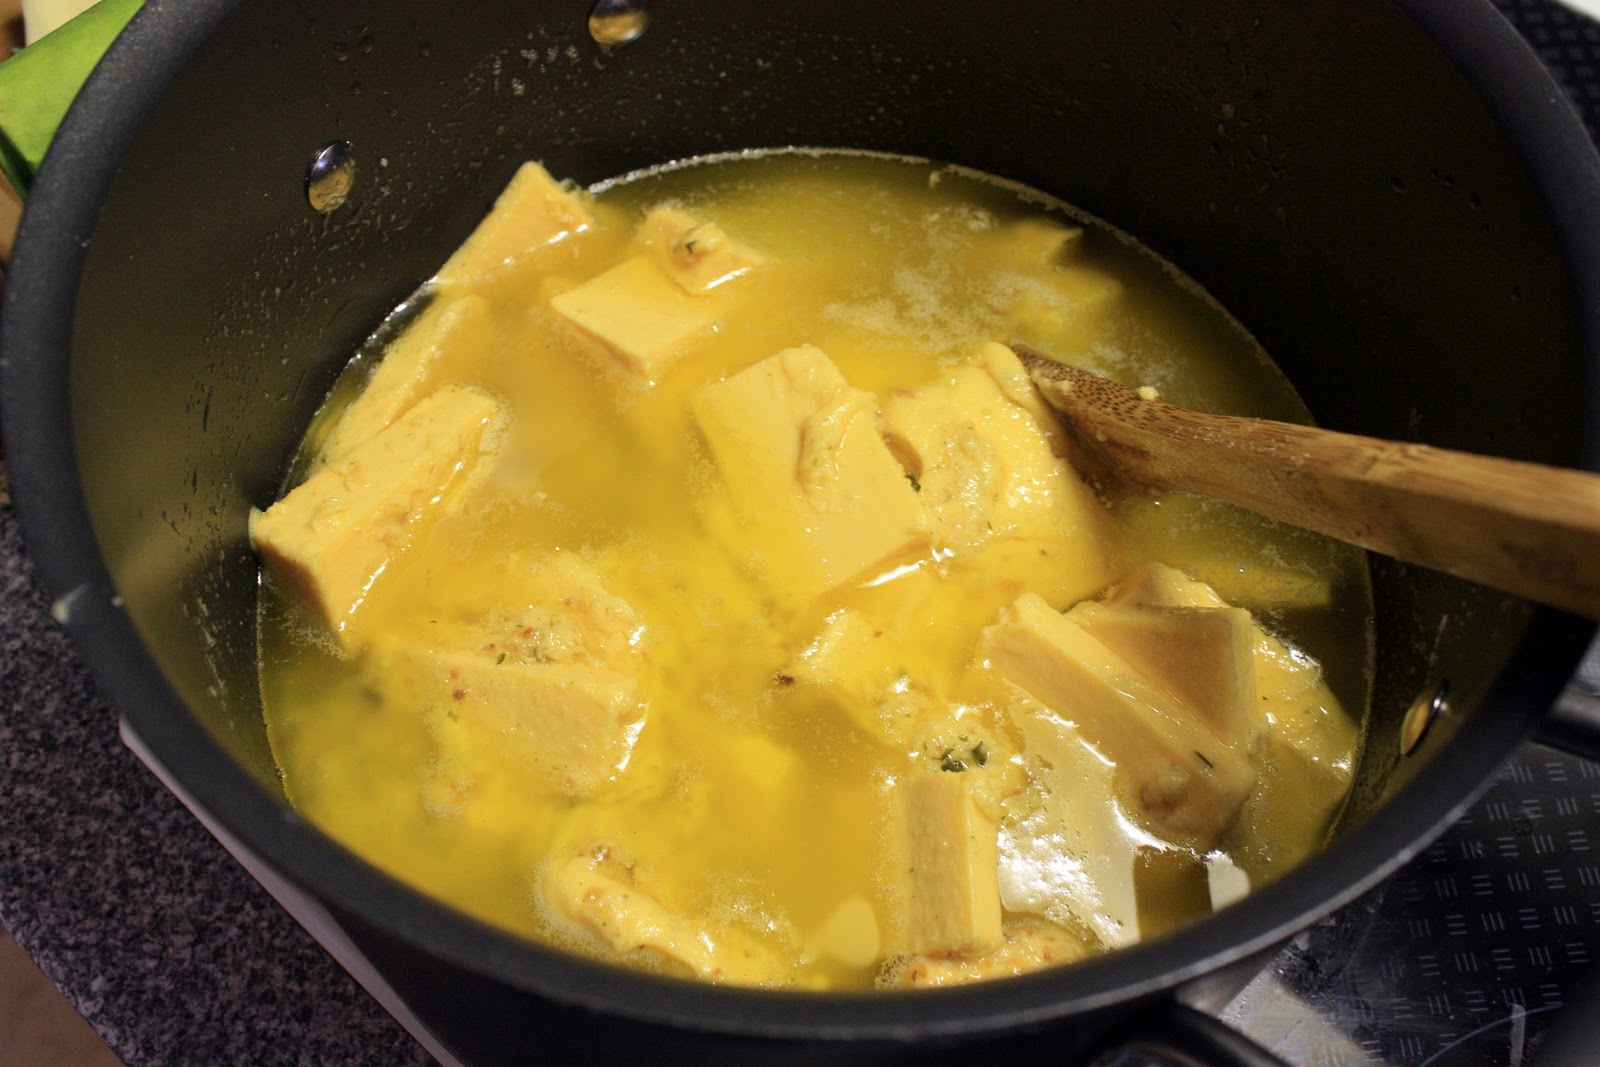
In a sauce pan, melt the butter, then add onion powder & "Onion Onion"; saute on a low to medium heat for 10 minutes. DO NOT get it so hot that'll allow the butter to burn! 


Then, add the Velveeta cubes and stir until completely smooth and combined (lots & lots of stirring). Again, don't allow it to burn or it completely ruins the sauce.


Pour the cheese mixture into mixing bowl and stir until macaroni, corn and cheese sauce is evenly combined.


Place the combined mixture into your 9x13 baking dish. Sprinkle with ground pepper pepper and Onion Onion (however much you're wanting to use).


Bake for 20 minutes with aluminum foil, then bake uncovered for 10 minutes. BAM! You're done!

If you make this earlier in the day and it's meant for dinner, you can put it in the oven at 200* and just have it sit in there till you're ready. By leaving it for several hours  (mine cooked for 4 hours), the onion flavor comes out better and the cheese seems to "soak" into the macaroni.


Wednesday, November 16, 2011

Tagine Test Drive

 As you read in my last post, I picked up a Tagine from Le Creuset and I was really itchin' to try it out! So, I scoured the internet earlier today and figured out what kinda recipes I wanted to try, wrote down all the ingredients and made my way over to the store. Here's the recipe I found:


3 medium carrots, peeled and cored (if core is bitter) and sliced in half lengthwise
6 chicken thighs, in 1 inch pieces
1 large peeled potato, cut in 1 cm thick rounds
1 large green bell pepper, cut in chunks
1 medium red onion, cut in 1 cm thick rounds
2 medium tomatoes, cut in 1 cm thick rounds
2 cloves garlic, sliced
2 tsps ground ginger
?? tsp ground pepper
2 tsps paprika
Dash of yellow food colorant powder, or a few strands crushed saffron
cube or 1 tsp chicken bouillon powder
1-2 tsp salt (to taste)
Handful of pitted green olives
6 -8 tbsp olive oil
1/4 cup of water

Splash 4 tbsp of oil on the bottom of the Tagine. Layer your ingredients evenly in the Tagine, starting with carrots, then going in order they are written. The carrots must be on the bottom, and the chicken pieces should be on top of the carrots, not touching the bottom of the Tagine (When the carrots start to burn, they add a delicious flavor and protect the rest of the ingredients, but if anything else burns, that's not going to taste very good.)  When you get to the spices and salt, sprinkle them evenly over the vegetables.  Spread your olives on top, then drizzle the olive oil allover. If water is needed, add it now. Close your Tagine and cook until your vegetables are tender, on a very low heat. This may take up to an hour andmake sure you have liquid in the Tagine or it will burn. On the other hand, watch out for too much liquid or it will bubble over.Once it's cooked, turn off the heat and drizzle the rest of your olive oil on top. Let the tagine rest for about 10 minutes to cool off, and enjoy!

Of all the spices, I've never worked with Saffron, which is a VERY potent and widely used in European, Arab, South and Central Asian, Persian, and Turkish cuisines. A little goes a LONG way! So, I was pretty nervous to use it since it's really unfamiliar to me...not to mention, EXPENSIVE! No joke, I paid $10 for a few GRAMS of it. I definitely didn't want to screw this meal up! Some things I altered were the olives..the commissary didn't have any plain green olives that were pitted, so I picked up some that had jalapenos in them (a lil spice isn't a bad thing), and instead of using powdered ginger, I used fresh minced stuff that's from Gilroy, CA (twenty five minutes from my home town). Oh, and I didn't have chicken readily available without having to defrost it like crazy, so I used a schwank roast that was already available to be used :)

 So, I set to the task of chopping everything up like usual...once all the veggies and meat were ready to put in the Tagine, I layered 'em up as the recipe stated. To be honest, I was a little worried about how it looked like I was stacking and sticking stuff on top of one another...so it felt like parts of the food weren't going to get cooked properly. Just what I need..give my family some kind of food poisoning when I was trying to convince them to "broaden their horizons" when it came to tasting new things, lol. Once I finished stacking and adding the seasoning, I put the lid on and walk away. 

Here's the before:


Anddddd after:


I was honestly SHOCKED as to how much the liquid level raised and everything was so tender within an hour of cooking! The stove top was set on low! This thing is basically a super crock-pot! So, I was pleasantly surprised and Eric was even impressed with how everything turned out. It tasted FANTASTIC! The seasonings and veggies melted together perfectly and the sauce didn't taste like some watered down broth. When we were ready to dig in, we had some white rice available and piled some of this on top..Uh-mazing! I'm in love with this thing and look forward to using it a lot more :) Definitely a worth while investment since my husband AND son were raving about the recipe and how everything came out!

Photobucket

Saturday, October 1, 2011

Old Is Awesome

...well...when it comes to antiques. When you're eighty and acting like you're twenty, then that's not cool or awesome. It's just...not.

I can thank my Dad for teaching me to appreciate antiques and finding something interesting about them. Honestly, I think things were made WAY better back in the day compared to how they are now. Ya know, when things were made in America and not out sourced. I even appreciate things that are made in Germany, cause let's face it, the Germans know how to make some amazing stuff that lasts forever! 

When I was making some muffins earlier, I had asked my Dad if he had any kind of kitchen mixer I could use since I reaaaaally wasn't too stoked on mixing sixteen egg whites in addition to oatmeal, applesauce, etc etc by hand... so he pulls this thing out:


It's a Sunbeam Mix Master from ...ehhhh... 1957-1967. So, it's anywhere from fifty four to forty four years old. When I saw it, it's like "OOOHH!! Shiney!!!" and I started checking it out more. Apparently he bought this thing like a year and a half ago and never got around to using it. He brought it home from wherever he got it and stuck it in the pantry, lol. So, I diverted from the muffins a little bit and took some time to clean this thing up. It's in AMAZING condition! No dings or rust..ANYWHERE! I'm honestly shocked!


One of the really cool things is the settings. The end of it is a huge dial which CLEARLY describes which setting you can use (there's twelve in total you can use), ya know...mixing dry ingredients, or mixing a cake or even whipped cream. How cool is that? It's like a "Mixing for Dummies" kind of mixer. You just click it along to whatever setting you have in mind.


On the back of the mixer, there's an adjustment switch you can use if you happen to use a large or small bowl. When you switch it over, it actually moves the position of the mixing whisks around so it's angled correctly to mix the entire bowl rather than just a side. Know what I mean?


 One of the mixing blades actually has a rubber mounting on the end of it. Why? Well, it actually grips the glass bowl and causes it to spin since the mixing unit itself has a lazy susan on it. How cool is that? So while it's mixing, it's actually turning the bowl at the same time so your batter is mixed thoroughly.


Never mind the fact that 're the whisks are MASSIVE! They're larger than the whisks I'm used to on my little hand mixer. 


 And it actually came with two fantastic glass mixing bowls! There's no cracks or chips AT ALL in these! They're so thick and heavy duty..well, they gotta be for a mixer, but still.. I'm always impressed with the quality of older things.


 Last but not least, it tips back and adjusts for the different sized mixing bowls you can use.


As my Dad has been remodeling the house and getting rid of old junk that we don't want / need anymore..he always asks me "Do you want me to hold onto this?". Well, of all the things I want him to save for me, this is DEFINITELY something to set aside! It works fabulously and I love how retro it is! Now, let's just hope my Kitchen Aid mixer will be understanding ....

Photobucket

Monday, May 2, 2011

Weißer Spargel


Ok, in the last week or so, several people have asked me how to prepare White Asparagus since they've finally come into season and vendors are popping up at all the Farmers Markets with 'em. In case you've never heard of White Asparagus, here's some info for your noggin:

During the Spargelsaison, or season of white asparagus, Germans unite in their devotion to this delicate and delicious vegetable which makes its first appearance in mid-April and usually disappears around the end of June. Asparagus officinalis is a leafy plant whose young shoots are known to us as the vegetable asparagus. Cultivated by ancient Egyptians, Greeks and Romans, asparagus has long been cherished for its subtle flavors and as one of the first vegetables of spring.

While green asparagus is more common in the United States, it is the arrival of the white asparagus that sends Europe into a feasting frenzy. White and green asparagus come from the same plant, but in Germany the earth is heaped into knee-high mounds around the asparagus plants to keep the shoots away from sunlight in order to prevent the development of the chlorophyll that would turn them green.


The farmers must keep a close watch on the white asparagus crop, which is typically harvested by hand at dawn. If a tip of a shoot grows beyond the mound and is exposed to the sun, it will turn a light purple color. When a crack appears on the surface of the dirt mound, the farmer takes great care to excavate and cut out the spear. All newly planted asparagus beds may take two to three years of cultivation before they produce a crop. Afterwards, the plants produce for another 20 or so years. In light of these factors, it is easy to see why this labor-intensive crop with a very limited production window can garner high prices on the market.

I remember my Grandma being able to get her paws on 'em once in a while back in California (I think she had the hook up at a local German deli), and she'd make it with Rinderrouladen, potatoes and sometimes she'd toss some red cabbage in the mix (I'm totally not a fan of red cabbage). The main thing I distinctly remember her telling me is that you HAVE to peel the asparagus or else you're going to have a very bitter / borderline bark-like tasting veggie. So, here's how you tackle some White Asparagus:

Preheat the oven to 400* and wash the veggies:


Chop about half an inch off of the bottom of the stalk:


You gotta peel the outer skin; I used my Serrated Peeler to do that:


Once you're all done peeling, poke holes in the stalks with a fork (don't over do it!!), and stick them in a baker. 


Add fresh ground pepper (however much you want to use), a seasoning of your choice (I used Tastefully Simples Wahoo Chili seasoning) and 1 container of chicken stock (I used the low sodium type). 


Pop it in the oven for 20-30 minutes (without the cover), depending on how soft you want your stalks.


If you happen to have Parmesan cheese, you can use that to sprinkle whatever stalks you put on your plate. There's a variety of different ways you can make these: steam, boil, bake, fry...they always turn out good because they have their own natural flavor which is a buttery taste. If you're able to actually experience it in Germany, by all means, do it. They normally serve it with an amazing Hollandaise sauce and potatoes:

Here's what to look for when buying fresh, white asparagus.

  • Look at the cut ends, are they dried out? Gently squeezing the ends should produce juice droplets. If you live in Germany, check with the seller before touching any produce yourself.

  • Are the asparagus spears straight and white? The straighter and whiter they are, the more you should expect to pay for them. Violet-colored or crooked asparagus tastes the same, but is harder to peel and not break plus the violet color is considered a flaw in Germany.

  • Is the asparagus thick and stocky? The thicker the asparagus spears, the bigger the yield after peeling, and the easier it is to peel.

Storing and handling asparagus

  • Do not keep asparagus more than a day or two after purchase. Keep it in a loosely-wrapped, damp kitchen towel in the vegetable drawer of the refrigerator.
  • Handle asparagus carefully to minimize breakage. White asparagus is less flexible than green and can snap off, especially right behind the head. While it still tastes good, it is usually reserved for stock and soup at that point.

Sunday, March 6, 2011

Baby Steps

Alrighty, as mentioned in my video blog, Eric and I have wiped out our refrigerator of all the crappy junk food and switched everything out with fresh fruits, veggies and meats. Yesterday was our first day kicking off our altered food schedule, and thankfully, it went well. I'm saying it "like that" since I was fully anticipating to deal with a seriously nasty sugar withdraw migraine. It's safe to say everyone has experienced something like that at some point or another whether it's from lack of sugar, caffeine or even carbs...they're a BITCH! 

So far, so good! The first week is usually the hardest, but I'm mentally set to take this on and hammer it out.This is pretty much how my day went (each meal was about two hours apart):

Breakfast - two hard boiled egg whites, small amount of freshly made salsa, and half a cup of oatmeal.
 
Morning snack - two ounces of chicken, half a cup of strawberries

Lunch - two ounces of Mahi Mahi , half a cup of red potato and one cup of brussel sprouts

Afternoon snack - two ounces of chicken, half a cup of strawberries
 
Dinner - two ounces of Mahi Mahi, half a cup of red potato, small amount of freshly made salsa, and a cup of brussel sprouts. 

It may seem like it's not all that much in terms of portion size, but seriously, it was a lot of food. By feeding your body all day, you're giving it constant fuel. In addition to all the food, I drank water throughout the day. Good grief... three liters worth!! I know I'll eventually get used to drinking that much, but I don't like having to go to the bathroom every fifteen minutes! I'm planning on driving to Poland next month and I really don't want to have to pull over that often! 

Since I'm cooking everything fresh, cutting out a lot of salty seasonings / sauces and such, I needed to go through my spice collection to figure out what I can use in order to NOT have bland chicken / fish / pork. Luckily, my Pampered Chef spices get the "thumbs up" in addition to some of my Tastefully Simple spices. Thing is, they're ALL crammed into my cupboard and it was rather annoying to search for 'em, so, I pulled out a Spice Turn About that I happened to have. I originally bought it to sell at a Spring Bazaar that's going to be happening sometime after April, but honestly, I need to use this thing. Luckily, it fits my PC, TS and McCormick spices AND doesn't take up much room on my counter top!! YAYNESS!! 


It spins (duh) and it actually has a retractable handle on it so if I need to pick it up and move it somewhere else in the kitchen, I just grab the ring, the handle pops up and we're good to go! 


So, all my spices are officially taken care of. Eric and I spent a good part of the afternoon yesterday pre-cooking all our food (he's on board with this whole thing as well), so, everything is pre-made, in a sense, for the upcoming week. 

I ended up joining a site, www.dailymile.com , to keep track of the amount of walking I'm going to be doing. I mean, I'll eventually get to the point where I can jog and run, but, I gotta do this in baby steps. Especially since I have a crappy back and my right knee is rather jacked. Once I get into the swing of things, I'm planning on doing the C25k (Couch to 5k) program to help with my stamina. That way, I'll eventually get to running :)