Showing posts with label hearty food. Show all posts

Sunday, July 15, 2012

Pasta with Stuffed Chicken Leftovers


As you read in my last post, I made some pretty bitchin' stuffed chicken boobies for dinner one night. Since the guys loved it, I made more of it the following night which resulted in some left overs...I made WAY too many stuffed boobies. So, I saved them for the next night since I could figure something out to make with them. 

PASTA!

This is so ridiculously simple, it's painless. Trust me. 

You'll need (I used WAY more than this because I have two ravenous guys to feed, but this amount will work perfectly for two people):

1 box of fettuccine noodles
1 bottle of Alfredo sauce (I tend to stick with Classico)
1/2 stick of  Challenge salted butter
1/2 cup chicken stock

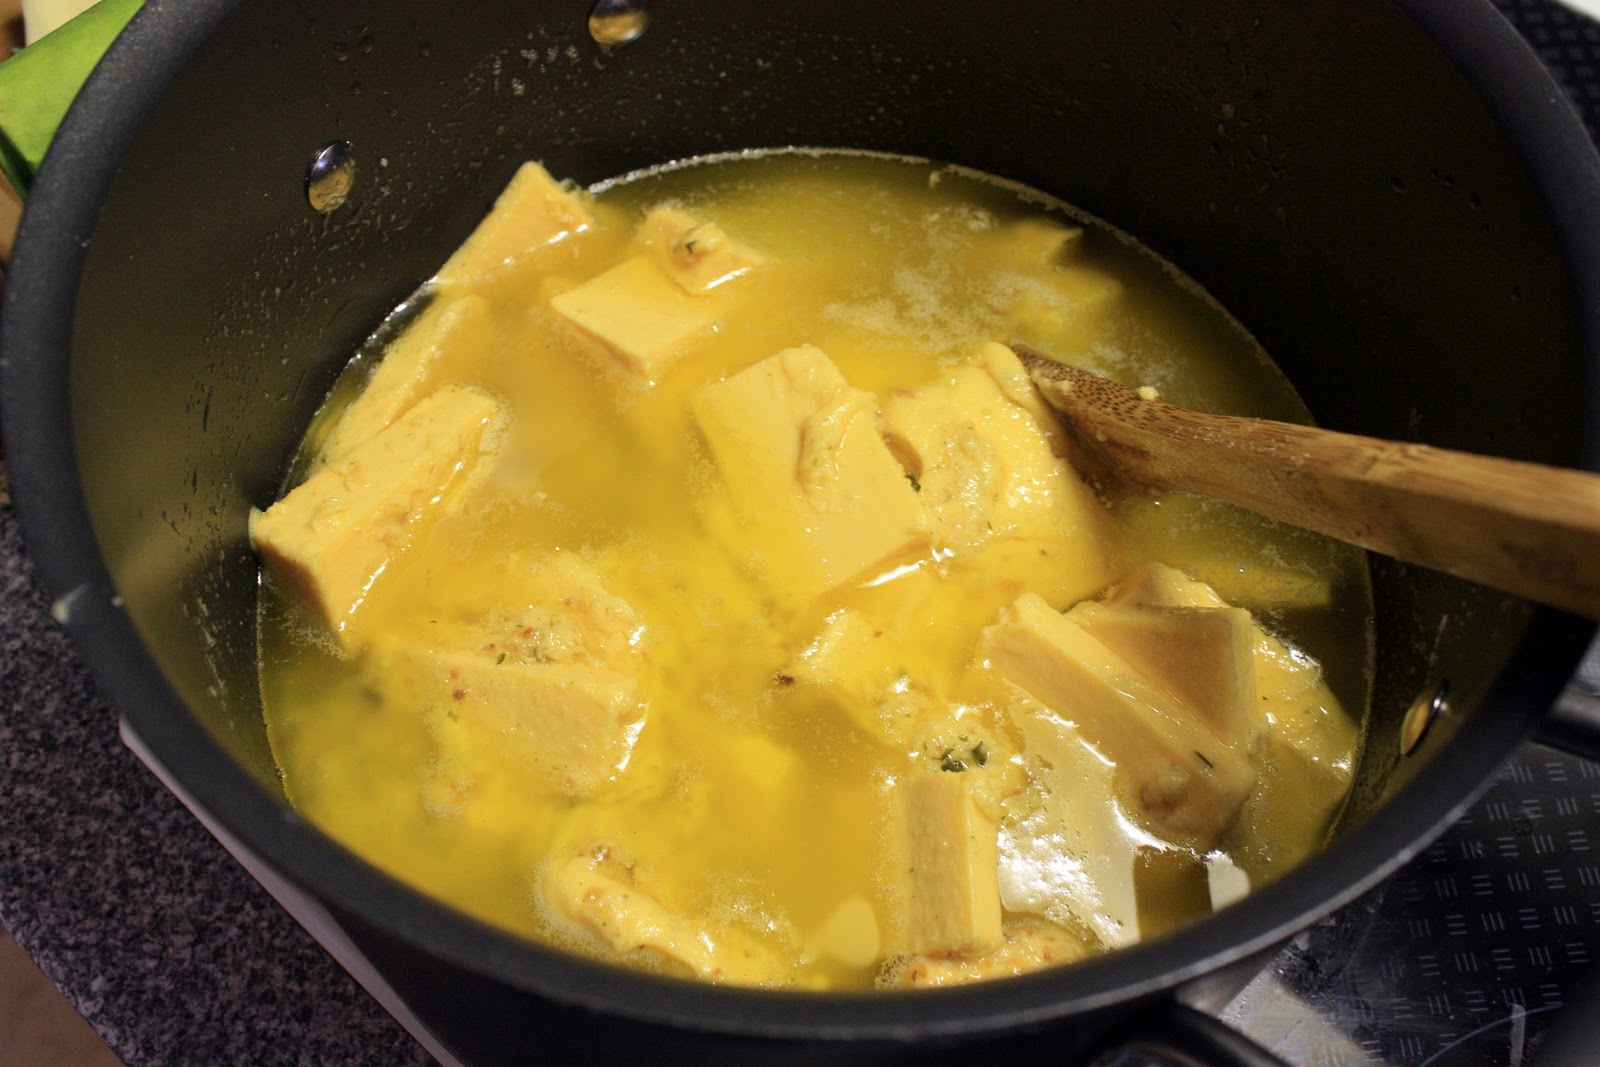
Cook the noodles like you would usually do when you're making pasta. While the noodles are cooking, toss the butter in a sauce pot, melt it and then add the Alfredo sauce. I usually take the chicken stock, pour it into the Alfredo jar & shake it around so I get ALL my sauce, lol. Pour that into the pot and mix it all up. Take the COOKED chicken boobies and chop them up. Trust me, it looks like a big ol' mess, but it'll be derricious. Once the chicken is chopped up to however small you want the pieces, toss it all into the pot and cook till your pasta is ready. 

It's that simple. Seriously! 


I put some Parmesan on top with a dash of black pepper...UH-mazing! When dinner was finished, I started to ask the guys, "Is this a recipe you want me to...."...before I had a chance to complete my question, they both shouted "OH MY GOD, YES! THIS IS AWESOME!!"....then they proceeded to get seconds and attempted thirds. 

Viva la re-vamping left overs!

Stuffed Chicken a la Erika


Ok, how about a happy post? What makes most people happy? Thaaaat's right....food. 

I was racking my brain the other day in terms of what to make for dinner because I was getting really tired of left over enchiladas. We had been surviving off of 'em for the last several days.. I was very over them! So, I started poking around the freezer and decided to use up the chicken we had in there. I didn't want "just" chicken with some rice, so I opted to "stuff" some chicken breasts with something. After thinking a little more, I decided I'd try stuffing them with my artichoke & spinach dip. 

Remember, preheat the oven to 350*!


Here's my spinach & artichoke recipe. What's listed is for a regular sized amount, I ended up doubling it so I had enough to stuff all the chicken boobies and a little extra in case I wanted extra dip to bake on it's own:

12 oz. Cream Cheese (make sure it's soft so it's easier to blend with the other ingredients)
1/3 cup sour cream
1/4 cup mayo 
1 cup of spinach (either fresh, cooked, or frozen, thawed). Make sure it's very drained of extra water!
2 cans or jars of non-marinated artichoke hearts, roughly chopped
2 teaspoons of garlic salt
1/2 a packet of McCormicks Chili seasoning (yes, seriously)
1 cup of shredded pepper jack cheese

Mix all the ingredients together and then set it aside. If you're wanting it as an actual dip, just stick it in the oven at 325* for twenty minutes and you're good as gold. 

Make sure you wash your chicken, then dry 'em on a paper towel so they're not sopping wet. Then you'll need to take the breast, make a shallow cut from top to bottom, then inside the cut, fillet it a little more so you'll have room to stuff it with the dip. Here's a picture of what I'm talking about. For those of you who are perverts, like my husband, I'm sure it'll give you a giggle..whatever..just trying to help out those who are more "visual". 


Once you've done all the cutting, stuff all the pieces with the dip & use toothpicks to keep the sides together. Then take a small amount of olive oil (I use garlic infused olive oil), drizzle lightly over the chicken and then sprinkle breading crumbs over all of it. 


Cover it with aluminum foil and bake for 30 minutes. After 30 minutes, take the foil off and allow it to bake another 30 minutes. By doing this, you'll allow the chicken to stay juicy and also brown the bread crumbs. 


Tah-dah!


I ended up serving the stuffed chicken with some broccoli au gratin rice...the guys totally demolished everything! Major victory for me! 


Monday, January 30, 2012

Corn Mac

Whenever I bring my Corn Mac to a party, I get tons of compliments, people asking for the recipe, or people offering to pay me to make it for them since it doesn't come out the same way if they make it themselves. Not bad, right? I actually wrote out the recipe in a "Note" on my Facebook account, but I still get asked about it being posted on here since some people like visual instruction verses just words, so, here we go:

This a REGULAR serving size recipe, which can feel 4-6 people. The amount that's pictured below is for a large party I'm cooking for in addition to personal orders people make when they find out I'm cooking this recipe. So, don't freak out when you see the amount of butter and Velveeta is used :)


Preheat 350
Grease a 9x13 pan/dish


2 Cups - Macaroni "elbow" pasta
1 Cup - Butter (unsalted, or 1 stick salted and 1 unsalted..I prefer using "Challenge Butter")
1 - 16 oz. Block Velveeta - cubed (sometimes I add more since we like things super cheesy!)
1 - can Creamed Corn
2 - cans of "Fiesta" Corn - Drained
2-3 T. - Onion Powder
2-3 Tablespoons of Tastefully Simples "Onion Onion" (yes, really. Add more as you're making your sauce if you like)
* You can also use fresh onion; do about 1/4 cup give or take. Make sure it is finely chopped if you do!
Ground black pepper (optional)


Boil macaroni till tender. While you're waiting for that to finish, you can mix together the creamed corn & Fiesta corn together. 


I tend to prep other things while I'm waiting on pasta to finish cooking, so I measured out my onion powder as well as Onion Onion. Now that's ready to go when the time comes:


Once the macaroni is ready, drain and put in a large mixing bowl.


2. Add the creamed corn and the drained cans of corn to macaroni. Stir to evenly combine. Set aside.


In a sauce pan, melt the butter, then add onion powder & "Onion Onion"; saute on a low to medium heat for 10 minutes. DO NOT get it so hot that'll allow the butter to burn! 


Then, add the Velveeta cubes and stir until completely smooth and combined (lots & lots of stirring). Again, don't allow it to burn or it completely ruins the sauce.


Pour the cheese mixture into mixing bowl and stir until macaroni, corn and cheese sauce is evenly combined.


Place the combined mixture into your 9x13 baking dish. Sprinkle with ground pepper pepper and Onion Onion (however much you're wanting to use).


Bake for 20 minutes with aluminum foil, then bake uncovered for 10 minutes. BAM! You're done!

If you make this earlier in the day and it's meant for dinner, you can put it in the oven at 200* and just have it sit in there till you're ready. By leaving it for several hours  (mine cooked for 4 hours), the onion flavor comes out better and the cheese seems to "soak" into the macaroni.


Wednesday, July 20, 2011

Sí Sí


This is something I happened to make up (yes, really) because I was craving some sort of Mexican food, but not really wanting to make enchiladas or tacos. Remember a while back when I made "Uglies"? This is a spin off from those...but Mexicanized :)

The ingredients I'm listing are what I used to make 24 SiSi's with left over meat mixture (enough to make 12 additional SiSi's). The extra meat mixture can be frozen so you can use it at a later time if you're feeling squirrely to make more mini enchilada grenades :) I REALLY recommend making the meat mixture several hours before you're ready to bake. By making it and letting it soak, the chicken will have soaked up a lot of flavor!

Preheat the oven to 375*

3 packets of taco seasoning
1 carton of chicken stock
2 jars of salsa (however spicy you want)
1 medium white onion
6 cloves of garlic
2 roasted chickens
4 tomatoes
 1 head of lettuce
1 package of shredded mexican blend cheese
3 packages of Pillsbury biscuits

In a large bowl, combine the three packages of taco seasoning, two and a half cups of chicken stock, and the two bottles of salsa. Stir and set aside. 


Now, I normally roast chickens myself..but since I'm lucky enough to live near a town that was having it's Tuesday market, I managed to pick up two freshly roasted chickens from them. The reason why I prefer roasted verses BBQ is that the chicken keeps a lot of moisture in the meat and pretty much seasons itself as it's cooking. Nice & tender!


Pick all the meat off the bones, shred it into chunks and toss it into the bowl with the sauce mixture. If you want to add the skin in, it's your choice...I just tossed mine to the pups since they waited ever so patiently for me to make some sort of mistake to drop them some goodies.


Take your onion and coarsely chop it up, toss into chicken mixture.


From a bulb of garlic, take out anywhere from 5-6 cloves (medium sized) and finely chop them (I used my food chopper to do this)..once chopped, toss the garlic into the chicken mixture. 


Make sure to mix everything in the bowl thoroughly! If you're wanting this to soak, just toss it in the fridge till you're ready to bake, otherwise, just set this aside 


Next, you'll be working on the crust.


Spread some flour out on the counter so you can flatten out the biscuits.


Flatten the biscuits and shake off the excess flour..


..then fit the biscuits into the muffin tins. Now, don't bother trying to make the "crust" pretty..they'll bake however they want to which gives them that rustic kind of look.


Spoon the meat mixture into the shaped biscuits, then top with the shredded Mexican cheese.


Bake for 17-19 minutes!


While the Si Si's are cooling, you can work on the lettuce and tomatoes. 


Wash the lettuce thoroughly & dry. When you cut it up, you can do small slivers so you have a nice shredded lettuce you can use as a salad. 


Wash and dry your tomatoes. I'm kinda funny about mine since I don't like that core in the middle. So, I chop the top off, use "The Corer" down the center of the tomato to remove the heart, slice it in half then slide the seeds out. That way, I don't have the acidic part of the tomato to deal with when I use the good parts as a garnish. 


Once you're all set, assemble the SiSi like you would with a taco salad (lettuce, tomato, sour cream & shredded cheese)..and you're all set to go!


Saturday, April 23, 2011

End of Week 7

Ohhhh my goshhhh... my weight loss is dragging! A pound a week is starting to drive me nuts, especially since I'm eating healthy! I know...I know..some weight loss is better than no weight loss, but still. I've been stuck in the 240's for a while now and I'd definitely appreciate it once I hit the 230's.


Oh...and it's driving me nuts that I always land on .4!!! Seriously, wtf! lol... I'm just shy of losing 15lbs since I started, so not too shabby. Hopefully I can make additional progress this coming week since I really do want to slim down, especially before I go home! 

Wednesday, October 20, 2010

Ugly is good

Sounds funny, right? I mean.. ugly sounds like such a mean thing, but it could mean something good for once. 

I was stalking the pages of Allrecipes.com and came across a rather interesting recipe... it's called "Uglies". After reading the ingredients, I figured, "Hey, I'll give it a shot"....looks like I'm now required to make these more often since Eric and John were tackling each other for the last one. 

Here's the recipe: 

Ingredients

  • 1 pound ground beef chuck
  • 1/2 cup chopped onion
  • 1/2 teaspoon garlic powder
  • 1 1/2 cups barbeque sauce
  • 1 (10 ounce) package refrigerated biscuit dough
  • 2 cups shredded Cheddar cheese

Directions:


 Preheat oven to 400 degrees F (200 degrees C). Lightly grease 8 muffin cups (If you have Pampered Chef's metal muffin pan, you don't need to grease it).  

In a large skillet or frying pan, cook ground chuck with onion and garlic powder until evenly brown; drain off the grease. Stir in the barbeque sauce and simmer for another 3 minutes.


Roll out each biscuit on a floured surface so that each biscuit is 6 inches across. Put the biscuit in the muffin tin and fold up sides to create a cup shape.


 Fill each biscuit fill almost to the top with the meat mixture; top with cheddar cheese.


 Bake in preheated oven until biscuits are baked, cheese is melted and tops are golden brown, about 15 minutes. 


Tah-Dah!!
Overall, it only took about 40 minutes total to make these...and they're SO easy to make and delicious!