I absolutely love my dogs, and I'm pretty sure they love me just as much considering they were my little body guards this morning. Long story short...I woke up to some random man in my kitchen and my dogs went ape-shit on him. It made for a lovely morning involving a baseball bat, police and the base police...ha. More than anything, my dogs were able to alert me that something was up and then proceeded to snap and pretty much chase him out of the house, then down the driveway. LOL. And yes, I can laugh about it NOW....
For that, I'm extremely grateful. So, I ended up spoiling my little furbabies today!
There's a pet store down a ways from us and they have some pretty cool little toys in there for dogs. The only problem is; they're expensive. Then again, everything is expensive here. When I go back to the States later this year, I'm gonna look crazy when I go into a PetSmart and leave with a shopping cart FULL of squeaky toys! Anyway, when Eric and I got there, we found some squeaky Kong toys that look like tennis footballs, in addition to some bouncy balls. Then...we found this:

It's about the size of a bowling ball and made of a rubber exterior with a hard plastic inside. I dunno if you'll even know what I'm talking about, but it has this noise makers on the inside so when it rolls, it makes a "wacka wacka" sound. It TOTALLY freaks Cole out! The hole you see in the picture is where you put the dog treats and you can adjust it so the hole is actually smaller...that way, it'll cause the dog to play and play, then figure out how to open it up so it can get the treat. When we filled it with treats and let the dogs have at it, it looked like a weenie dog soccer team running around the house! I was hilarious! At this moment, Cole is passed out with it right next to him. I HIGHLY recommend this thing, and yes, they make smaller versions of it for the smaller dogs :)
Oh, and my dogs usually get treats. We've trained 'em to the point that when they go outside at night, then come right back after they do their business, they get a treat. Before, they'd take FOREVER outside and during the winter, it's freezing out there! Since we've been doing the treats, they've definitely picked up the pace. The only bad thing is that since we have four dogs, we go through treats rather quickly. What makes it even worse is that their treats run about $6 a bag! Agh! We use Beneful's Snackin' Slices..so..they're healthy, but just becoming way too expensive for us. Seriously, think in terms of about $30 on snacks a week. That's just not OK anymore...

So, I went trolling around online to see what I could find in terms of stuff I could make for the furbabies. I mean, I want to make healthy treats for 'em so I won't convert them into little butterballs with eyes..otherwise, it's kinda defeating the purpose as to why I'm going through the effort in the first place! I ended up finding a very simple recipe which didn't require me to use yeast or anything of that sort. Most of all, they were regular ingredients most people can easily pick up at a grocery store, yay!
Ingredients:
1 egg
3 cups of whole wheat flour
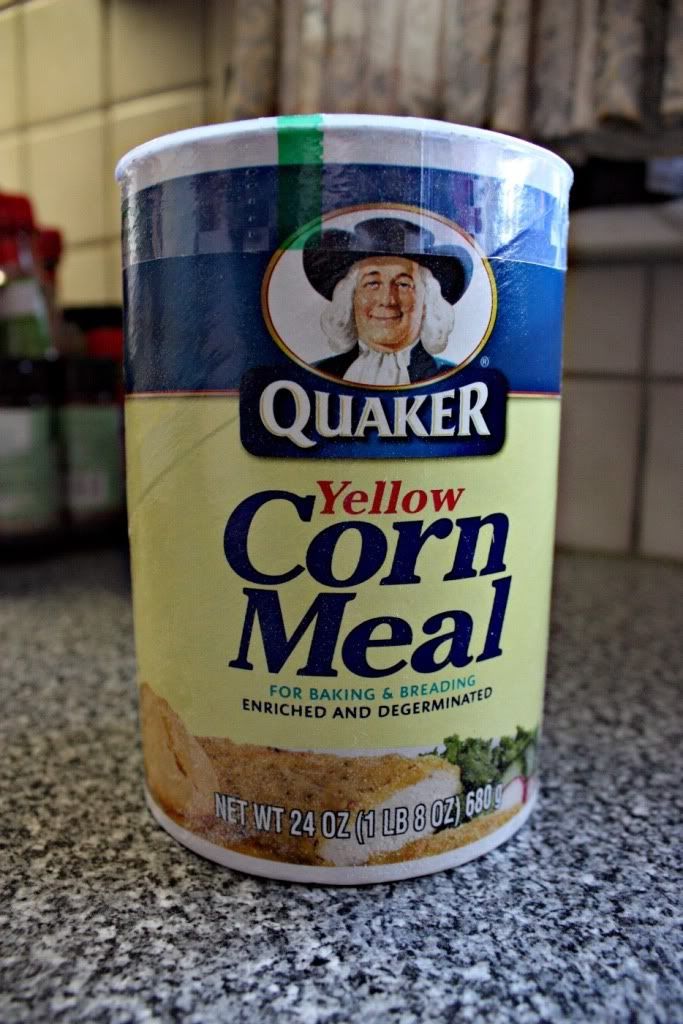
3/4 cup of corn meal
1 cup of chicken broth (or beef)
2 tablespoons of butter
*PREHEAT OVEN TO 325*
Take an egg and have it at the bottom of your mixing bowl:
Mix in the 3 cups of whole what flour as well as the 3/4 cup of corn meal:
Toss in the 1 cup of chicken broth as well as the 2 tablespoons of butter (room temp), then begin to mix & fold everything together. I ended up having Eric help me with that since it needed a little bit of elbow grease to mix everything together. It's WAY too thick to use a mixer! Once it was all combined, we rolled it out onto a cutting board, rolled it to about a quarter of an inch thick, then started punching out the different shapes.
Oh, I ended up using my Pampered Chef
Creative Cutters Set for the shapes since they were the perfect size to make the treats. Plus, they fit in the wacka wacka ball that I showed earlier :) They're good for small dog treats, or even if you wanna make "snack" size cookies so you don't totally pig out on huge cookie binges.
Keep rolling out the dough over and over again till you've been able to make as many cookies as you want out of it. We managed to get about four "rollings" out of it, so depending on how large your cookie cutter is, I guess it really depends on how many you'll end up making.
I tossed all of mine on my stoneware
Large Bar Pan and baked it for 15 minutes, then allowed them to cool completely on my
Stackable Cooling Rack. Once all of 'em were finished, I called over the weenies to see if they'd be willing to test 'em out. THEY LOVE 'EM!
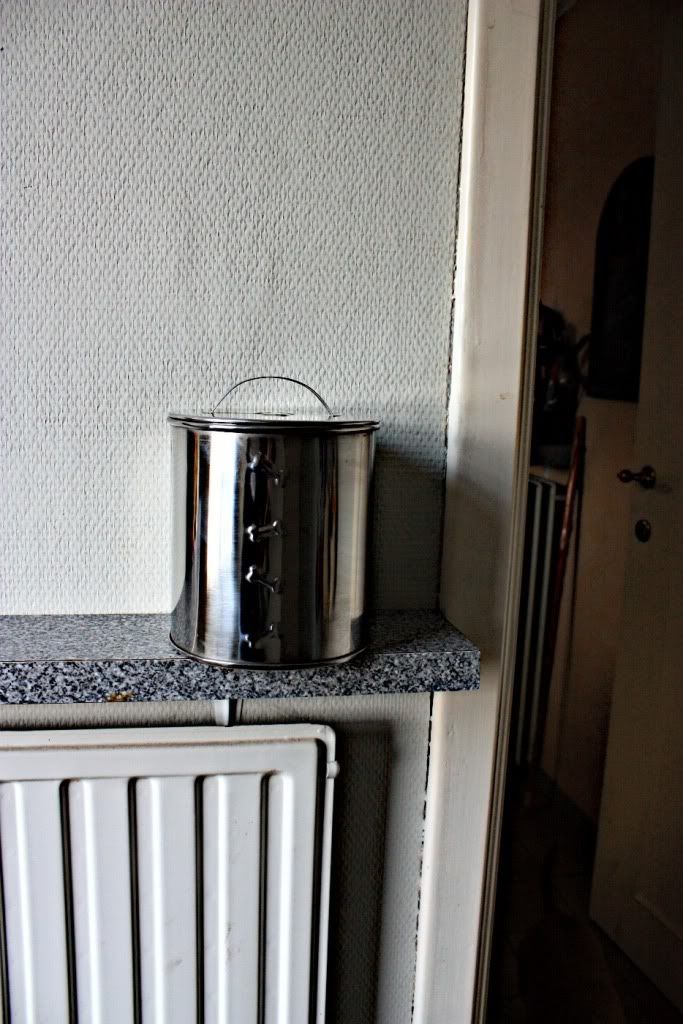
LOVE them! So, I tossed all of the treats in the furbabies handy dandy treat tin ....
...and now they await their fate.
Now that I know that they like the goodies, I'm going to try to fiddle with it and see if I can add some stuff to it..maybe like bacon bits or something, or even peanut butter. That way, they don't always have the same old thing all the time!


